Overhead Crane Wire Rope Replacement: When to Change It

Overhead crane wire rope replacement should usually not be treated as a one-person job on a production crane. Even when the rope size looks manageable, the risk is not only weight. The main risks are wrong reeving, wrong rope lay direction, crossed drum wraps, poor dead-end seating, damaged sheaves, and returning the crane to service without enough checks.
A small manual hoist in a maintenance corner is one situation. A 5 ton, 10 ton, or 15 ton bridge crane with multiple falls is another. Once the crane is used above people, equipment, molds, steel parts, or daily production, the work should follow the OEM manual, site safety procedure, and the applicable inspection rules in your country or region.
When should overhead crane wire rope be replaced?
There is no single replacement period that is safe for every crane. Replace the rope when an inspection shows that it has reached the discard criteria in the hoist manufacturer’s instructions, the applicable standard, or local regulation. A calendar date alone does not describe the rope’s actual condition.
For cranes covered by OSHA 1910.179, running ropes require a thorough inspection at least once a month, with a dated record kept. The inspection must pay attention to diameter reduction, broken or worn outside wires, corrosion, damage at end connections, and severe kinking, crushing, cutting, or unstranding.
Typical warning signs include:
- Measurable diameter loss or an apparent loss of core support
- Broken or heavily worn outside wires, especially when concentrated in one area
- Corrosion or damage at the socket, wedge, clamp, or other end connection
- Severe kinking, crushing, cutting, unstranding, or birdcaging
- Heat damage, poor drum spooling, or unusually rapid repeat deterioration
ISO 4309:2017 provides a systematic framework for the care, maintenance, inspection, and discard of wire rope used on cranes and hoists. Use the edition, manufacturer instructions, and local rules that apply to the site. If the condition is uncertain, stop the hoist and have an appointed or qualified person assess it before the next lift.
Short answer: do not plan a 4-fall crane rope change as a solo job
On a 15 ton bridge crane with a 4-fall rope arrangement, a two-person team is a much more realistic minimum. One person can control the rope feed and tension while the other watches the drum, sheaves, hook block, dead end, and rope path. On larger cranes or tight installations, more people may be needed.
The job is not only about removing old rope and installing new rope. The crew needs to keep the rope from twisting, confirm every sheave is properly seated, keep the drum wraps clean, and stop before damage becomes permanent. A single crossed wrap can damage a new rope early. A wrong reeving path can change hook behavior, load distribution, and limit switch timing.
What should be checked before ordering replacement rope?
The replacement rope should match the crane and hoist design, not just the approximate diameter of the old rope. Before ordering, confirm the rope specification from the OEM manual, nameplate, previous service record, or qualified crane service provider.
At minimum, check these details:
- Rated crane capacity and hoist capacity
- Number of falls, such as 2-fall, 4-fall, or 6-fall
- Wire rope diameter
- Rope construction and core type
- Right-hand or left-hand lay
- Regular lay or lang lay, if specified
- Required rope length
- Drum groove condition and drum diameter
- Sheave groove condition and sheave diameter
- Dead-end style, wedge socket, clamp, or other termination method
- Minimum number of wraps remaining on the drum at the lowest hook position
If the crane has been modified, repaired, or rerated in the past, do not assume the old rope is correct. It may have been installed incorrectly before. Use the crane documentation and the actual hoist arrangement, not memory.
Take photos before removing the old rope
Before pulling the old rope out, take clear photos from several positions. Photograph the drum, rope direction, hook block, every visible sheave, rope guards, dead-end connection, and the position of the hook at both upper and lower travel limits if safe to do so.
These photos help during reassembly and help later if the crane does not behave correctly after the change. Marking the old rope path can also prevent confusion, especially on 4-fall or 6-fall arrangements where the rope may pass through the block more times than a new technician expects.
Check the reason the rope is being replaced
Do not replace the rope and ignore the failure reason. If the rope is simply old and scheduled for replacement, the job is straightforward. If the rope shows broken wires, flattening, birdcaging, crushing, corrosion, kinks, heat damage, or unusual wear on one side, the crane may have another problem.
Common causes include:
- Worn or undersized sheave grooves
- Damaged drum grooves
- Incorrect fleet angle
- Rope jumping a sheave
- Upper limit failure or two-blocking event
- Side pulling
- Shock loading
- Wrong rope construction installed previously
- Poor drum spooling under light load
If the root cause is not corrected, the new rope can fail early. A rope change is also a good time to inspect the hook block, sheave bearings, guards, limit switch function, brake behavior, and drum condition.

What can go wrong during installation?
The most common mistakes are simple but expensive. The rope can be installed with the wrong lay direction. It can twist during pulling. It can cross on the drum. It can miss a sheave or sit outside the groove. The wedge or dead-end connection can be seated incorrectly. The hook block can rotate and introduce twist before the crane is even tested.
For multi-fall hoists, the rope path must keep the block balanced. If the block hangs unevenly after the replacement, stop and recheck the reeving before lifting a production load. Do not try to fix poor reeving by forcing the crane through operation.
Post-replacement checks before returning to service
After the rope is installed, the crane should be checked slowly and methodically. A practical sequence is:
- Confirm rope path against photos, manual, or drawing.
- Confirm the rope is seated in all drum and sheave grooves.
- Confirm the dead end is correctly installed and secured.
- Check that minimum drum wraps remain at the lowest safe hook position.
- Run the hoist up and down without load at slow speed where possible.
- Watch drum spooling across the full usable hook travel.
- Check upper and lower limit function.
- Check the hook block for rotation, uneven hanging, or unusual noise.
- Make a light controlled lift before returning to normal work.
- Update maintenance and inspection records.
Record the new rope specification, installation date, reeving check, test results, and the inspection basis used to return the crane to service. For regulated sites, confirm any additional testing and documentation requirements with the crane owner, the OEM manual, and the rules that apply locally.
When should you call a crane service team?
Use a qualified crane service team when the crane is high capacity, heavily used, critical to production, has multiple falls, has unclear documentation, or has any sign of abnormal rope damage. Also call for help if the rope path is not obvious, the old rope failed early, the hook block is twisting, or the drum spooling does not look clean.
The cost of a proper service visit is usually small compared with a damaged rope, damaged drum, failed hook block, lost production shift, or unsafe lift. For factory cranes, the goal is not only to get the new rope onto the hoist. The goal is to return the crane to predictable service.
Buyer checklist for a new or replacement overhead crane hoist
If your crane is being upgraded or replaced, wire rope maintenance should be considered during the buying stage. Ask the supplier to confirm:
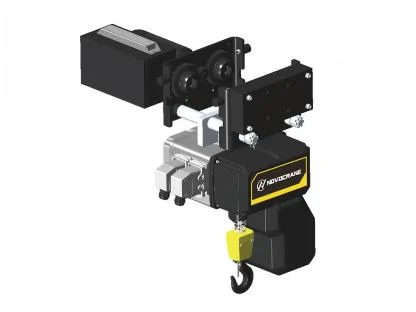
- Hoist type: electric wire rope hoist, open winch trolley, or chain hoist
- Rated capacity and duty class
- Lifting height and rope length
- Number of rope falls
- Rope specification and spare rope availability
- Access space for drum, sheaves, brake, motor, and limit switches
- Control method: pendant, wireless remote, cabin, or VFD control
- Inspection access around the runway and trolley
- Maintenance manual and spare parts list
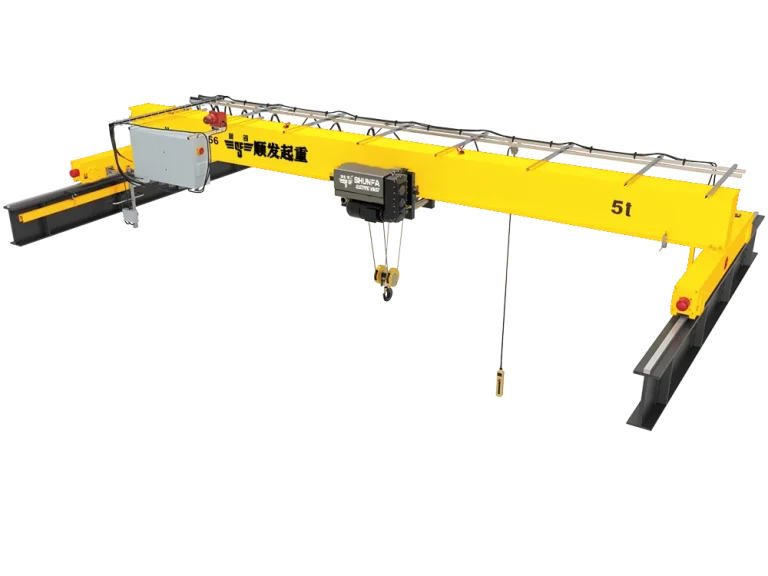
SUNFACRANE designs single girder overhead cranes and double girder overhead cranes around real workshop conditions. For a new crane or hoist project, send SUNFACRANE the load weight, span, lifting height, travel length, duty, power supply, control preference, and building photos or drawings.
FAQ
Is there a fixed overhead crane wire rope replacement period?
No. Inspection frequency may be set by regulation, but replacement is normally based on the rope’s condition and the applicable discard criteria. Follow the hoist manufacturer’s instructions and the rules that apply to the site.
Can one person replace overhead crane wire rope?
For a small hoist, one person may be physically able to handle the rope, but that does not make it a good maintenance plan. For a production bridge crane, especially a multi-fall hoist, use qualified people and follow the OEM procedure.
Can I replace the rope with the same diameter only?
No. Diameter is only one parameter. Rope construction, lay direction, core type, length, strength, termination, drum design, and sheave compatibility also matter.
Should the sheaves be inspected during rope replacement?
Yes. Worn, damaged, or incorrect sheave grooves can damage a new rope quickly. The drum, guards, hook block, bearings, and limit switches should also be checked.
What should I do if the old rope failed early?
Do not only replace the rope. Look for root causes such as poor spooling, side pulling, shock loading, wrong rope specification, damaged sheaves, drum groove wear, or limit switch problems.
What information is needed to quote an overhead crane or hoist?
Useful details include capacity, span, lifting height, travel length, duty class, power supply, control method, working environment, load type, and site drawings or photos.