Overhead Crane Installation: Step-by-Step Process and Key Requirements
Introduction
Installing an overhead crane is a complex engineering project that requires careful planning, specialized equipment, and experienced technicians. A properly installed crane will operate safely and efficiently for decades, while a poor installation can lead to ongoing problems, safety hazards, and premature wear.
In this guide, we walk through the complete overhead crane installation process, from site preparation to final commissioning, so you know exactly what to expect.
Phase 1: Pre-Installation Planning and Site Preparation
1.1 Site Survey and Foundation Assessment
Before the crane arrives, a thorough site survey must be conducted. Verify building dimensions: height, width, and length. Assess runway support structure capacity and condition. Check foundation adequacy for the crane dynamic and static loads. Confirm that the building structure can support the crane plus its maximum load. Identify any obstructions: pipes, ducts, lighting, sprinkler systems.
1.2 Runway Rail Installation or Verification
If runway rails are not already installed: install runway beams or brackets according to engineering drawings. Mount and align the rails with precise tolerances (typically within 2-3mm over the full length). Weld or bolt rail joints and grind them smooth. Install rail end stops and buffer systems.
1.3 Power Supply Preparation
Install the main electrical disconnect switch near the crane runway. Run power cables to the planned conductor bar or cable festoon system entry point. Ensure voltage, phase, and frequency match the crane specifications. Install grounding system per local electrical codes.
Phase 2: Crane Delivery and Unloading
Overhead cranes are typically shipped in major sub-assemblies: bridge girder(s) with end carriages attached, hoist and trolley assembly, electrical panels and control systems, conductor bar or festoon cable system, pendant control or remote control system, accessories and spare parts. SUNFACRANE handles all export packaging and shipping logistics. We ship to over 60 countries with full customs documentation.
Use a mobile crane or forklift of appropriate capacity to unload. Place components in a dry, secure staging area. Inventory all components against the packing list. Inspect for any shipping damage and document findings.
Phase 3: Crane Assembly and Erection
3.1 Lifting the Bridge Girders onto the Runway
This is the most critical lifting operation of the installation. Position a mobile crane (or two, for large spans) at the calculated lift points. Attach rigging to the designated lifting lugs on the bridge girder. Lift the bridge assembly smoothly and rotate it into position above the runway. Lower the end carriages onto the runway rails carefully. Verify that all wheels make proper contact with the rails.
Safety note: This operation requires a detailed lift plan, qualified riggers, and full PPE. The area must be fully cleared of non-essential personnel.
3.2 Installing the Hoist and Trolley
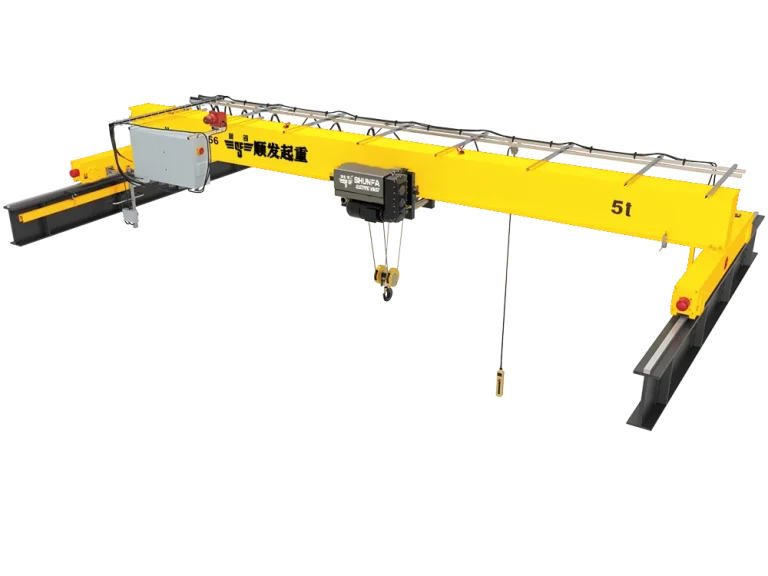
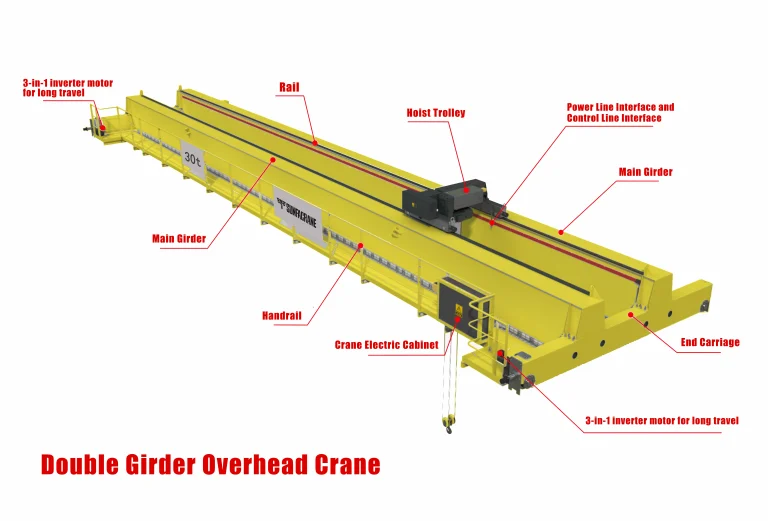
For single girder cranes: the hoist is lifted onto the bottom flange of the girder. For double girder cranes: the trolley is lifted onto the rails mounted on top of the girders. Secure all mounting bolts to specified torque values. Verify smooth trolley travel across the full bridge span.
Phase 4: Electrical Installation
Install the conductor bar system (enclosed or open) or cable festoon along the runway. Mount the current collector assembly on the crane end carriage. Connect the main power feed from the building disconnect to the conductor system. Test continuity and insulation resistance before energizing. Mount the main electrical panel on the crane bridge. Connect all motor power cables and control wiring. Wire limit switches, overload devices, and emergency stops. Connect the pendant or radio remote control receiver.
Phase 5: Testing and Commissioning
5.1 Pre-Power Checks
Verify that all mechanical fasteners are tight. Check all electrical connections for proper torque. Ensure all safety devices are correctly installed. Confirm correct motor rotation direction (before coupling to load). Lubricate all fittings according to the maintenance manual.
5.2 No-Load Testing
Energize the crane and test all motions without a load. Verify smooth operation of hoist up/down, bridge travel, and trolley travel. Test all limit switches and emergency stops. Check pendant/remote control functionality.
5.3 Load Testing
Begin with 50% of rated capacity and gradually increase to 100%. For new installations: test at 125% of rated capacity (static test). For dynamic testing: test at 110% of rated capacity. Measure beam deflection at full load. Test brake holding ability with full rated load. Verify overload protection activates at the correct threshold. Document all test results in the commissioning report.
Phase 6: Operator Training and Handover
Train operators on crane controls, safety features, and emergency procedures. Review daily inspection requirements and maintenance schedules. Provide all documentation: operation manual, maintenance manual, electrical diagrams, test certificates. Complete the handover certificate with the client signature.
SUNFACRANE Installation Support
We offer flexible installation support options: supervision only (our engineer oversees your local installation team), turnkey installation (our experienced team handles the complete installation), remote support (video guidance and documentation for self-installation). All SUNFACRANE cranes come with comprehensive installation manuals, wiring diagrams, and commissioning checklists.
Conclusion
A successful crane installation requires meticulous planning, skilled execution, and thorough testing. Whether you handle installation locally or utilize our turnkey service, SUNFACRANE is committed to ensuring your crane is installed correctly and operates safely from day one.
Planning a crane installation? Contact SUNFACRANE to discuss your project requirements and installation support options.